There’s something incredibly satisfying about transforming a dirty, dull car into a gleaming, head-turning masterpiece. Car detailing is more than just a wash—it’s a meticulous process that cleans, restores, and protects every inch of your vehicle, inside and out. Whether you’re a seasoned detailer or a beginner looking to up your car care game, this ultimate guide will walk you through the step-by-step process to achieve a showroom shine.
What is Car Detailing?
Car detailing is the thorough cleaning, restoration, and protection of a vehicle’s interior and exterior. It goes beyond a standard car wash, addressing every nook and cranny to restore your car to its best possible condition. Detailing can be broken down into two main categories: exterior detailing and interior detailing.
Step 1: Gather Your Tools and Products
Before you begin, make sure you have the right tools and products on hand. Here’s a basic list to get you started:
- Exterior:
- Car wash soap
- Two buckets with grit guards
- Microfiber wash mitt
- Wheel cleaner and brush
- Clay bar kit
- Paint sealant or wax
- Microfiber drying towels
- Detailing brushes
- Glass cleaner
- Interior:
- Vacuum cleaner
- Interior cleaner
- Microfiber towels
- Leather conditioner (if applicable)
- UV protectant
- Carpet and upholstery cleaner
Step 2: Start with a Thorough Wash
A clean surface is essential for effective detailing. Follow these steps for a scratch-free wash:
- Rinse the Car: Use a hose to remove loose dirt and debris.
- Wash with the Two-Bucket Method: Fill one bucket with soapy water and the other with clean water. Use a microfiber wash mitt to clean the car in straight lines, rinsing the mitt in the clean water bucket after each section.
- Clean the Wheels: Use a dedicated wheel cleaner and brush to remove brake dust and grime.
- Rinse Thoroughly: Make sure all soap is rinsed off to avoid water spots.
Step 3: Decontaminate the Paint
Even after washing, your car’s paint may still feel rough due to embedded contaminants. Use a clay bar to remove these impurities:
- Lubricate the Surface: Spray a clay lubricant or quick detailer on a small section of the paint.
- Glide the Clay Bar: Gently rub the clay bar over the surface in straight lines. Fold the clay bar frequently to expose a clean side.
- Wipe Clean: Use a microfiber towel to remove any residue.
Step 4: Polish the Paint (Optional)
If your car’s paint has swirl marks, scratches, or oxidation, polishing can restore its shine:
- Choose the Right Polish: Use a cutting compound for heavy defects or a finishing polish for light imperfections.
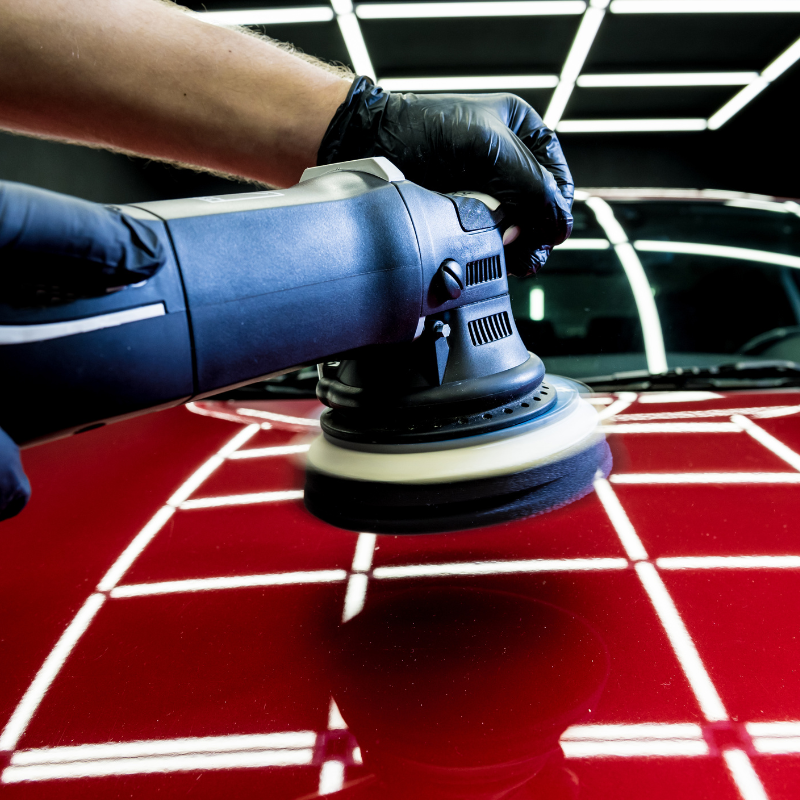
- Apply with a Polisher: Use a dual-action polisher for even application. Work in small sections, applying moderate pressure.
- Wipe Off Residue: Use a clean microfiber towel to remove excess polish.
Step 5: Protect the Paint
Once the paint is clean and smooth, it’s time to protect it:
- Apply Wax or Sealant: Use a foam applicator pad to apply a thin layer of wax or sealant. Allow it to haze, then buff it off with a microfiber towel.
- Consider Ceramic Coating: For long-lasting protection, you can apply a ceramic coating instead of wax.
Step 6: Clean the Windows
Streak-free windows are a must for a showroom finish:
- Spray Glass Cleaner: Apply a high-quality glass cleaner to the windows.
- Wipe with a Microfiber Towel: Use a clean, lint-free towel to wipe the glass in a zigzag motion.
Step 7: Detail the Interior
A clean interior is just as important as a shiny exterior:
- Vacuum Thoroughly: Remove floor mats and vacuum the seats, carpets, and hard-to-reach areas.
- Clean Surfaces: Use an interior cleaner to wipe down the dashboard, door panels, and center console.
- Condition Leather: If your car has leather seats, apply a leather conditioner to keep them soft and prevent cracking.
- Protect Surfaces: Apply a UV protectant to prevent fading and cracking on plastic and vinyl surfaces.
Step 8: Don’t Forget the Tires
Finish off your detailing with a final touch for the tires:
- Apply Tire Shine: Use a tire dressing to give your tires a deep, glossy finish.
- Wipe Off Excess: Ensure even coverage and avoid sling by wiping off any excess product.
Step 9: Final Inspection
Take a step back and inspect your work. Look for any missed spots, streaks, or imperfections. Touch up as needed to ensure a flawless finish.
Step 10: Maintain the Shine
To keep your car looking showroom-ready, follow these maintenance tips:
- Wash your car regularly using the two-bucket method.
- Reapply wax or sealant every 3-6 months.
- Use a quick detailer for touch-ups between washes.
- Keep the interior clean by vacuuming and wiping surfaces weekly.
Final Thoughts
Car detailing is a labor of love, but the results are well worth the effort. By following this step-by-step guide, you can achieve a showroom shine that will turn heads and protect your vehicle for years to come. Whether you’re preparing for a car show or just want to enjoy a clean, pristine ride, detailing is the ultimate way to show your car some love.
Happy detailing! ✨

